Working with Templates
This article details how to work with templates in Microsoft PowerPoint.
For comprehensive Microsoft PowerPoint training classes delivered by instructors in Los Angeles call us on 888.815.0604. Onsite PowerPoint training is available countrywide.
In this article you will learn how to create and save a template
Creating a Template
In order to successfully complete this module, you should complete all topics in order, in one session.
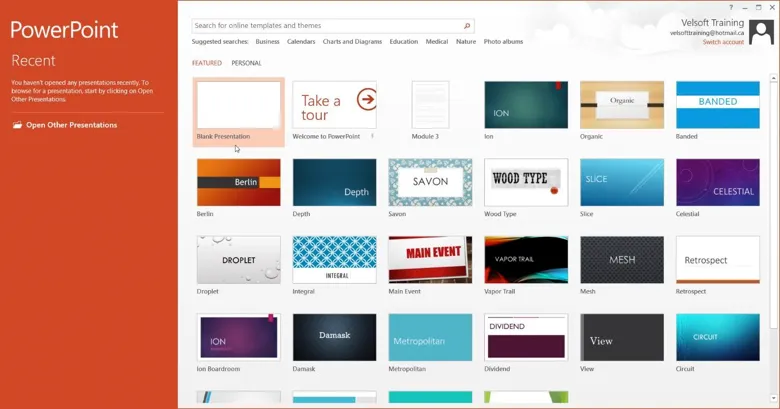
To begin creating a template, it is usually best to start with a blank slate. Open PowerPoint 2013 and create a blank presentation:
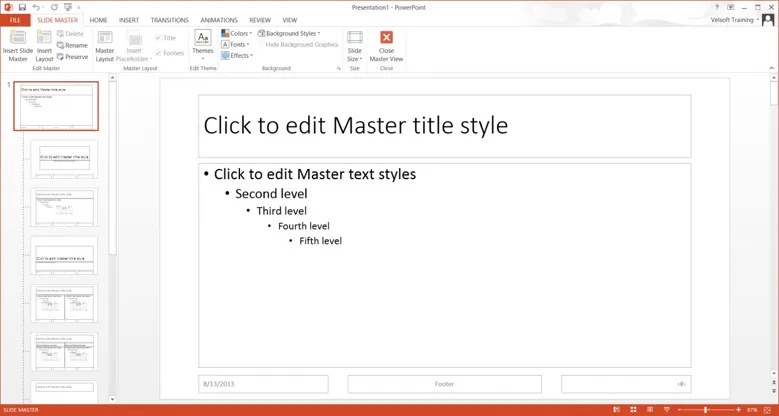
Next, switch to Slide Master view by clicking View → Slide Master:

Click to select the top-level master for the current presentation (at the top of the Slides pane):
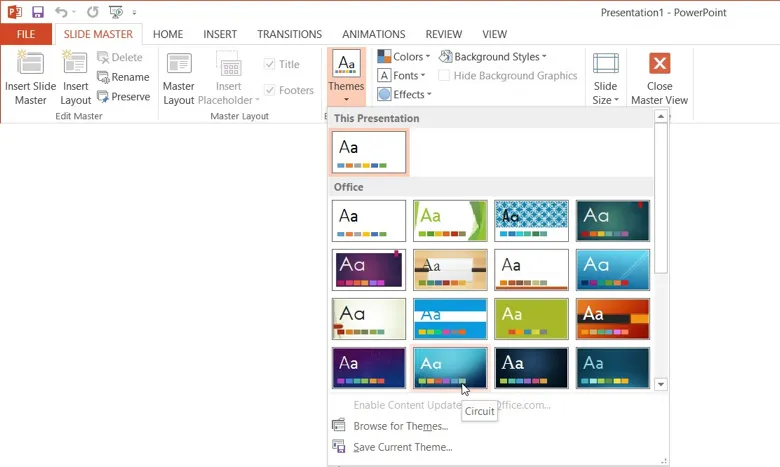
The current template is quite plain, so let’s dress it up a bit by applying a theme. Click Slide Master → Themes → Circuit:
The new theme will be applied to the slide master. This has the effect of changing the presentation’s background, colors, and fonts:
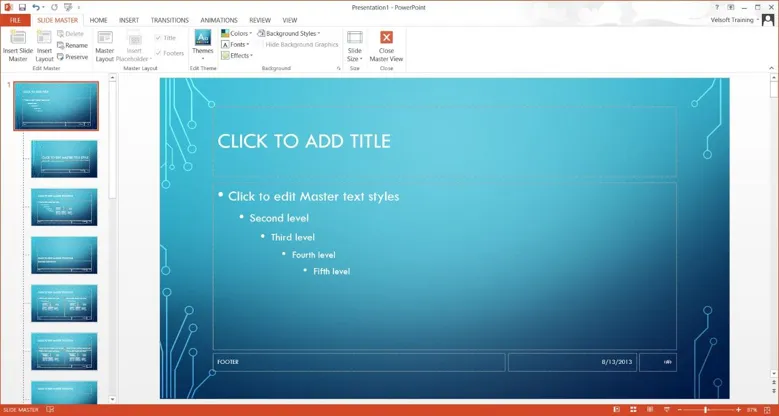
From here, you can adjust the headers and footers and add images and placeholders, just as you would when designing a slide layout. Keep in mind that these elements will appear on any slide using this template.
Leave Microsoft PowerPoint 2013 open and continue to the next topic.
Saving a Template
When you have finished designing your template, save it by clicking File → Save As → Computer → Browse:

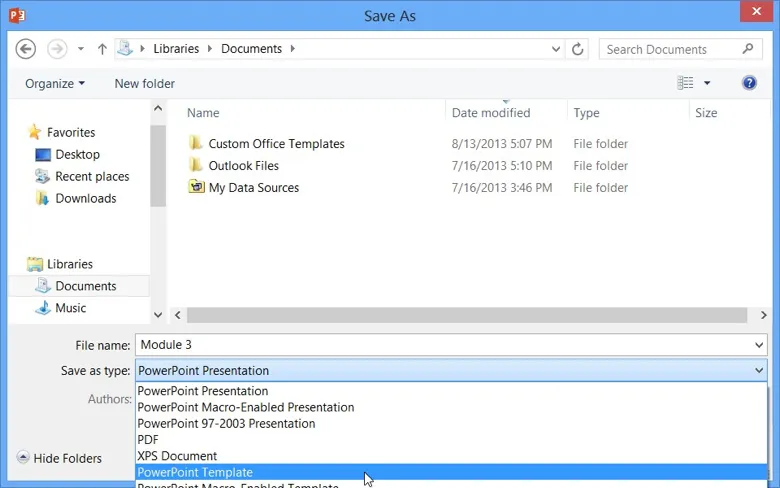
When the Save As dialog appears, type “Module 3” into the “File name” text box. Then, choose PowerPoint Template from the “Save as type” drop-down menu:
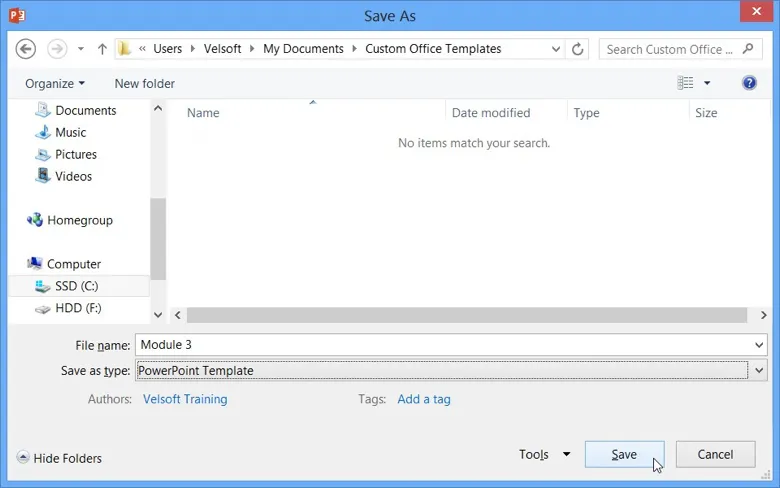
When PowerPoint Template is selected as the save type, the directory will automatically change to C:/Users/[username]/My Documents/Custom Office Templates if you are using Windows 8. (Previous versions of Windows will use the C:/Documents and Settings/[username]/Application Data/Microsoft/Templates directory.) Click Save:
Close Microsoft PowerPoint.
