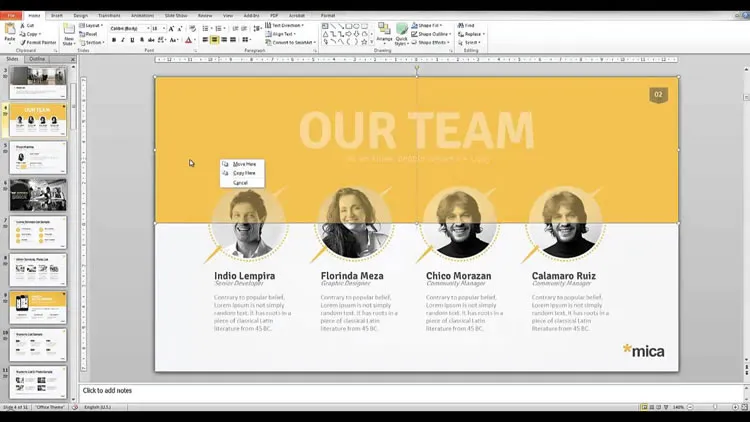
Creating Compelling PowerPoint Presentations
Microsoft PowerPoint is a commanding tool for creating visual screens for a presentation. Visuals created in PowerPoint and projected on a screen are often easier to see in a large room than information displayed on a flip chart. Using PowerPoint offers the following benefits:
- Allows you to add emphasis to important concepts, helping to increase retention of information
- Adds variety to your presentation
- Makes it easier to display images, charts, or graphs possibly too complex for a flip chart.
Also, PowerPoint files can easily be shared with participants or others after the session. For more details on our presentation workshops call us on 888.815.0604.

Required Tools
To create and use a Microsoft PowerPoint file to support your presentation outline, you will need:
- Microsoft Office PowerPoint software for Microsoft Windows or Macintosh OS
- A Windows or a MAC computer equipped with the minimum hardware and software specifications for your version of PowerPoint
- An LCD or DLP projector
- A projection screen
Optionally, you may wish to add the following to your toolkit:
- Storage media such as a USB memory stick or CD-R disc
- An extension cord
- A laser pointer for emphasis during the discussion of a PowerPoint slide.
Tips and Tricks
Use the following suggestions to enhance the benefit of your PowerPoint presentation.
Overall Appearance
- Display only one major concept on each slide
- Use short phrases or bullet points rather than paragraphs
- Limit each line of text to no more than 7-8 words
- Allow only 7-8 lines of text per slide
- Use images sparingly; one or two per slide
- Leave a good amount of blank space in your presentation
- Create a title for each slide
- Use effects, transitions animation, and sound very sparingly.
Fonts and Color
- Use simple sans serif fonts such as Helvetica or Arial for readability
- Select a point size of 32 or larger for titles, and 20 points for body text
- Use colors that work well together, such as yellow or white on a dark blue background.
- Check the readability and visibility of your fonts and color choices with the lighting in the room in which you will present.
Preparation
- Make sure to match your slides to the purpose of the presentation
- Develop a template and stick to it for a consistent look and feel.
Computer
- Check your equipment, computer settings, and room lighting in advance
- Before your presentation, turn off screensavers, instant messaging, and email notifications
- Make sure that your computer’s power management console will not automatically shut the system down after a set amount of time.
Creating a Plan B
While technology allows you to make great enhancements to a presentation, it also offers more opportunities for technical trouble. Here are some suggestions to keep your presentation moving along, even if the technology isn’t.
- Make one or more backup copies of your PowerPoint file on the computer on which you plan to show the presentation.
- Before the presentation, download and install the free Microsoft PowerPoint Viewer available at www.microsoft.com. In the event that your PowerPoint software won’t run, you will still be able to use the viewer to show your PowerPoint slides.
- Copy your PowerPoint file onto a USB Drive. That way, if you have a computer problem, you can move the file to another one, if available.
- Bring sufficient printed copies of your presentation for participants. If logistics prevent that, plan to have at least one copy available for photocopying on site.
- If all else fails, write your key points on a flip chart.
