Understanding the Shapes Pane in Microsoft Visio
For comprehensive instructor led Microsoft Visio training in Los Angeles call us on 888.815.0604.
To begin, open Visio and create a new drawing using the “Blank Drawing” template.
The Shapes pane is the primary tool that you will use to add shapes to your diagram. Open by default, you can find this pane on the left-hand side of the Visio window:
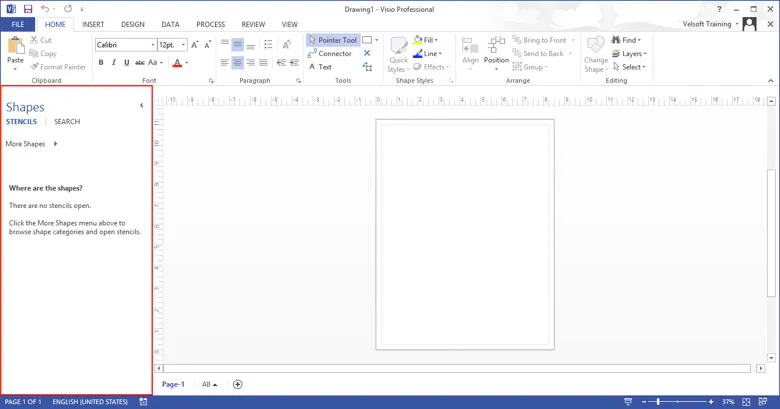
Shapes in Visio are organized into stencils. You can open these stencils and display their contents inside the Shapes pane. Most templates will have related stencils already open, but you can also open stencils manually.
To open a stencil, click More Shapes (with Stencils selected at the top of the pane). A menu will appear listing stencil categories to choose from. For this example, open the Brainstorming Shapes stencil by clicking Business → Brainstorming → Brainstorming Shapes:
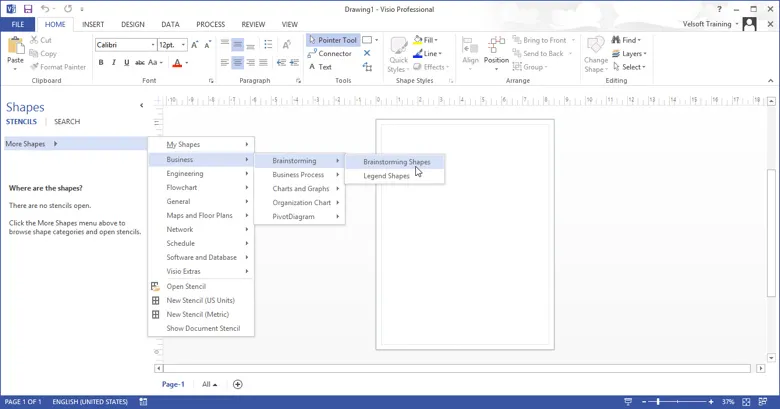
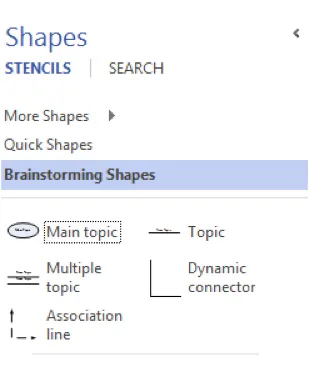
Click outside the menu to close it. The stencil you selected will now be displayed in the Shapes pane. In this case, you can see that the Brainstorming Shapes stencil includes five shapes:
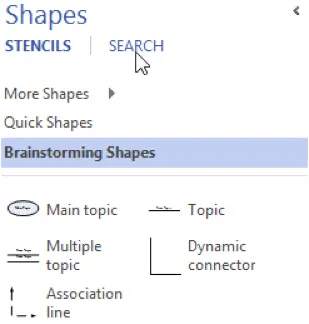
A somewhat faster method to find shapes inside the Shapes pane is to use the search function. First, click the Search tab near the top of the Shapes pane:
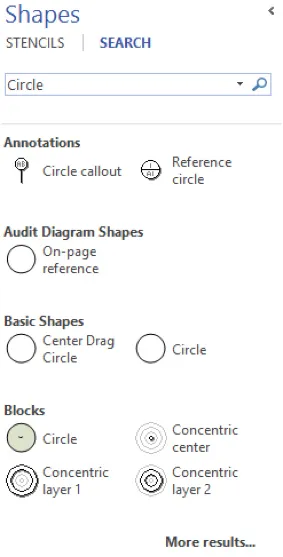
The Search field will now be displayed. Inside this field, type the search term(s) you would like to look for. For this example, type “Circle” and press Enter to execute the search. The results will then be displayed and organized alphabetically by the stencil in which they belong:
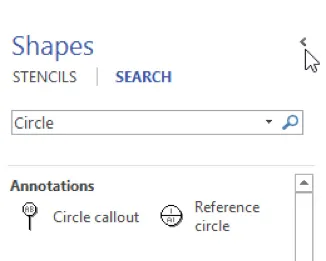
To give yourself more room to work on your drawings, you can minimize the Shapes pane. Do this by clicking the “Minimize the Shapes window” button () in the top right-hand corner of the pane:
The Shapes pane will now appear minimized. Notice that you can still see the shapes in the current stencil, but in a minimized form:
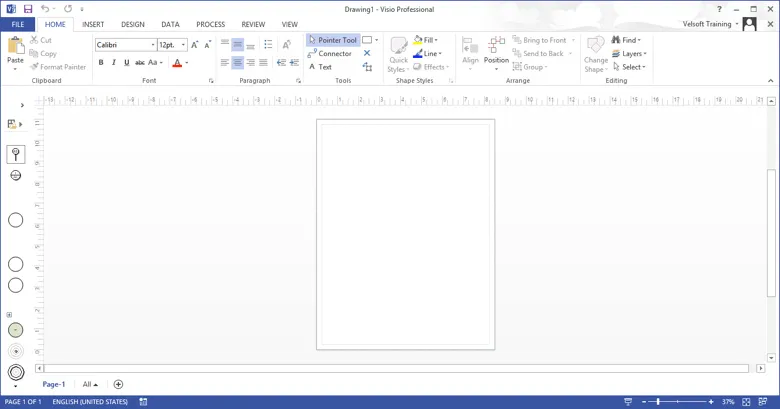
Expand the Shapes pane once again by clicking the “Expand the Shapes window” button (>):
