Tracking Changes in Microsoft Word Part 2
In this article, we will learn how to:
- Read Part 1 of this article here
- Accept and reject changes
- Show and hide markup
Need Microsoft Word training? We offer onsite training countrywide and public Word training in Los Angeles.
Accepting and Rejecting Changes
The real strength of markup in Word is the ability to accept and reject changes made to a document. This feature allows you to have others work on your document, but still give you control over any changes that they make.
To accept or reject a change, you must first select a piece of markup. Do this by clicking Review → Next (in the Changes group):

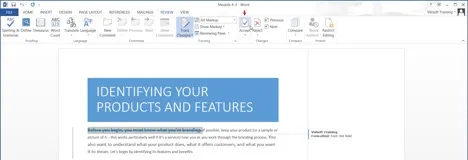
With the first change selected, click Review → Accept:

The change that was identified by the markup will now be applied and the next change will be selected. Click Review → Reject to reject this change:

The selected change will now be reversed and the next change will automatically be selected:

Note that both the Accept and Reject drop-down menus contain commands to accept or reject all changes at once. You will also find commands to Accept (or Reject) all changes and stop tracking, as well as Accept (or Reject) changes without moving to the next item.
Showing and Hiding Markup
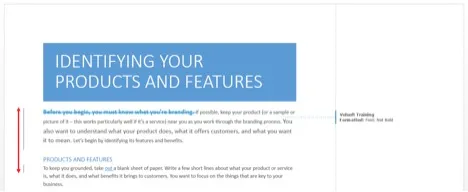
While markup can be very useful, it can get pretty messy and in the way. The quickest way to hide all markup in a document is to click the vertical line in the margin:

If you would like to specify exactly what kinds of markup are shown, click Review → Show Markup:

This menu presents you with a number of options to choose from:

The list of items at the top of the menu allows you to show and hide specific types of markup. (If a checkmark is present beside an item, this indicates that it will be shown.) Using the Balloons sub-menu, you can choose to show all revisions in balloons, show them inline, or show only comments and formatting in balloons (the default setting). Near the bottom of this menu, the Specific People option lets you narrow the markup shown by who made the change.
