Adding Gantt Bars in MS Project
If you want to spotlight a particular task category that is not represented by its own Gantt bar, you can create a new Gantt bar. For example, you can create a Gantt bar to show available slack or to call attention to delayed tasks.
For instructor-led Microsoft Project Professional training in Los Angeles call us on 888.815.0604.
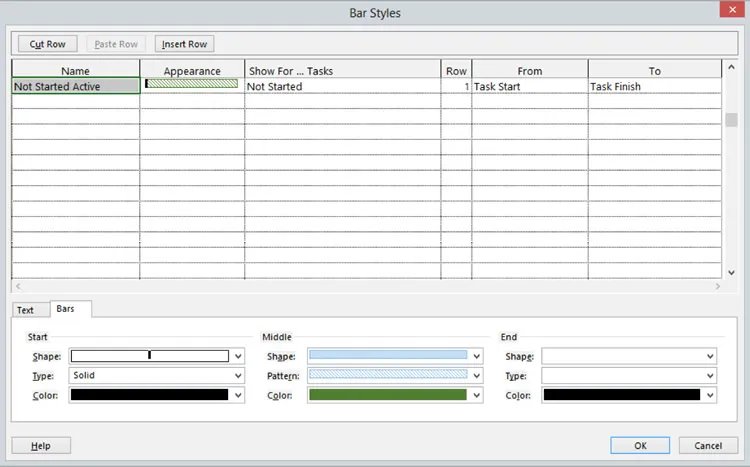
- On the Format tab, click Format and select Bar Styles.
- In the Gantt bar list, click the Insert Row button.
- In the Name column of the new row, type a name for the new bar style. Example below - ‘Yet to start’.
-
In the Show For Tasks column of the new row, type or select the task type you want the bar to represent. Example below - Not Started.
To exclude tasks with a specific bar type, type not before the task type. For example, you can define a bar type as not milestone to display only tasks that are not milestone tasks.
To display a Gantt bar for tasks of multiple types (such as tasks that are milestones and critical), type a comma (,) after the task category in the text entry box, and type or select a second task category.
- In the From and To columns, type or select the fields you want to use to position the start and finish points of the new Gantt bar. For example, to create a symbol that represents a single date, type or select the same field in the From and To columns.
- Click the Bars tab, and then under Start, Middle, and End, select shapes, patterns or types, and colours for the bar.
- Click the Text tab and choose the type of information you want to print next to your new Gantt bar
- Click OK.


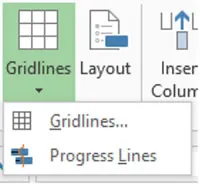
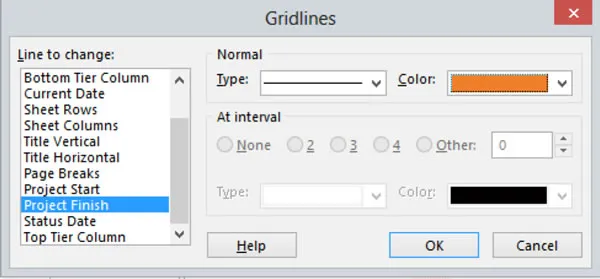
Click the Gridlines command and choose Gridlines to display the Gridline dialog box. You can change the display of the vertical lines for the current date and project finish date line, etc:

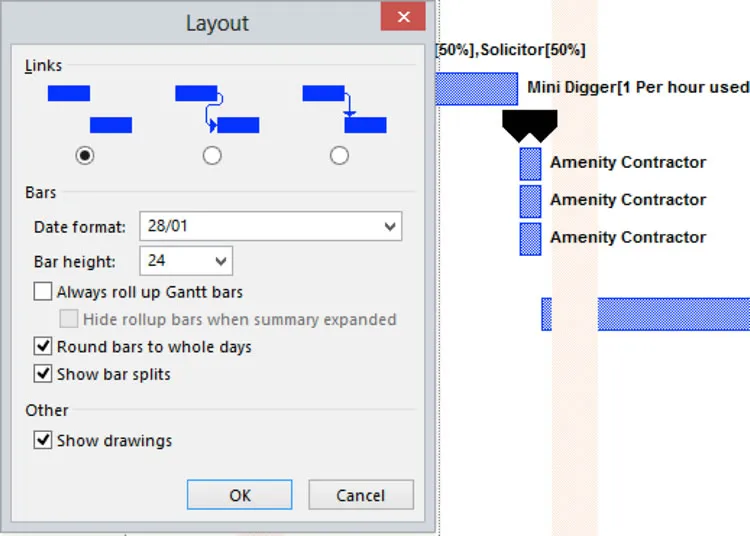
Click the Layout command to display the Layout dialog box where you can change how Links are displayed as well as the bar height, etc:

Also see Editing Tasks on a Gantt Chart.
