Creating Templates in Microsoft Word
In this article, we will learn how to create, save, use, and edit templates
Need Microsoft Word training? Training Connection offer onsite training countrywide and public Word training in Los Angeles.
Creating a Template
Templates allow you to create a boilerplate document that can be used over and over. For example, if you look at some of the pre-built templates included in Microsoft Word, you will see letters, reports, flyers, and many more document types that you can customize.
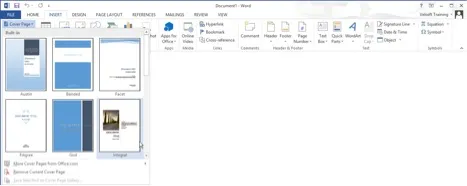
Let’s create a report template. To start, click Insert → Cover Page → Integral:
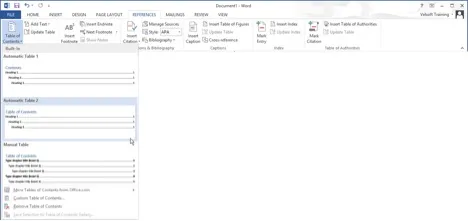
Place your cursor on the second page. Click References → Table of Contents → Automatic Table 2:
Click OK in the dialog that appears:

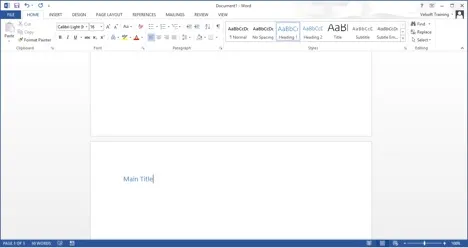
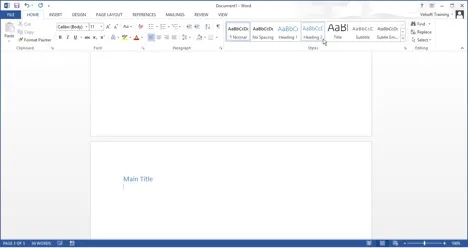
Press Ctrl + Enter to create a new page. Click the Home tab and click the Heading 1 style:

Type “Main Title:”
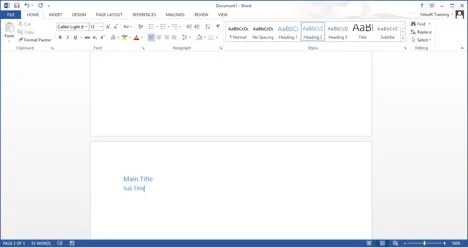
Press Enter. Click the Heading 2 style on the Home tab:
Type “Sub Title:”
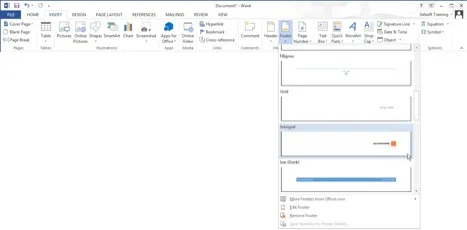
Now, click Insert → Footer → Integral:
We now have a basic format for a document. Leave the document open and continue to the next topic.
Saving a Template
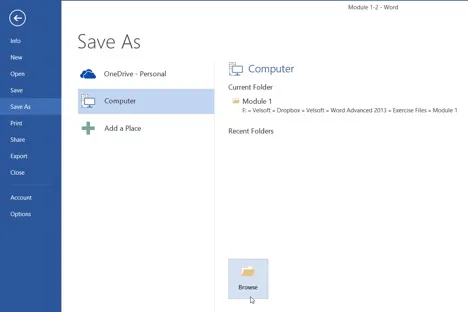
After having constructd your template, you need to save it in a special format. Click File → Save As:

With the Save As category selected, you have the option to save the template to your computer or to your OneDrive account (if you have signed into Office using a Microsoft account). Click the Computer option and then click Browse:
The Save As dialog will open. Click the “Save as type” drop-down menu and choose “Word Template:”
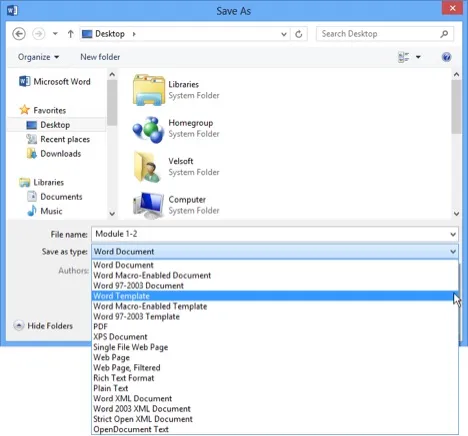
When the Word Template option is chosen, the Save As dialog will automatically navigate to the Custom Word Templates folder. Type “Module 1-2 Complete” in the “File name” field and then click Save:
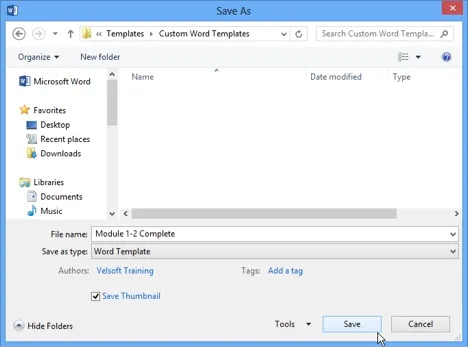
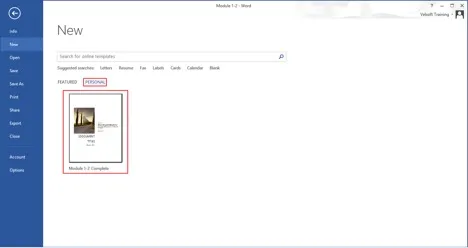
The template will now be saved and available from the File → New gallery, under the Personal category:
